
Hulu has light hats
- Published on
Hulu has light hats!
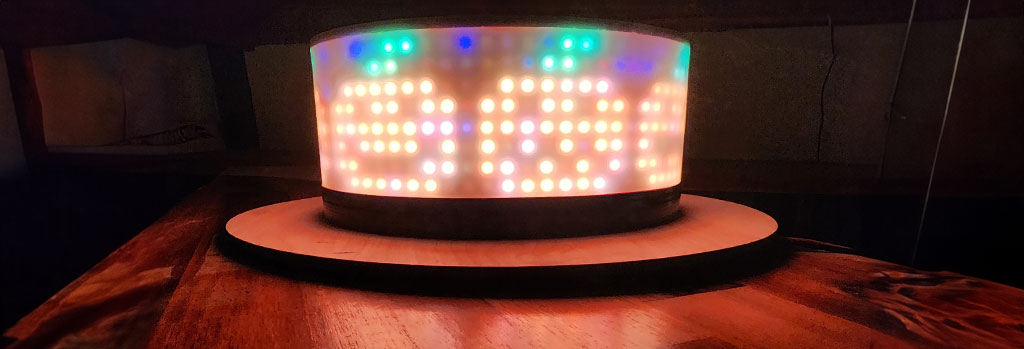
If you don't know, Hulu loves their Halloween parties. They go all out, and it's a blast. When I started working there and learned of this, I knew I had to up my game: enter the light hat. An interactive hat that lights up and displays images on a 360 degree screen. People got a kick out of it displaying "Hulu has live sports", a joke on their commercials at the time.
Hardware
Key Hardware components:
- Raspberry Pi 3
- This is the brains of the operation, it runs the software that controls the LEDs. It also runs a web server that allows the LEDs to be controlled via a web interface.
- Strips of WS2812b LEDs
- These are a single wire LED strip that can be daisy-chained together and controlled via a single pin on the Pi. Each LED can be individually controlled, and they can be set to any color.
- Buck converter
- This is used to step down the voltage from the battery pack to the 5v needed by the LEDs. This was needed in order to provide enough power to the LEDs, the Pi, and the screen. The battery pack was 12v, and the Pi and screen both needed 5v.
- Hat frame
- This was created using layers of 1/4" plywood cut on a laser cutter. The layers were glued together to create a 3D frame to attach the LEDs. I decided to use plywood over 3D printing because it was faster, and I didn't have a need for the precision that 3D printing would provide.
- Action Button
- The action button is a physical switch that triggers input on the Raspberry Pi. This allowed me to change the current scene that was being displayed on the hat. Each scene was data driven and could be changed via the web interface.
- Battery pack
- 12V 1800mA Portable Battery Pack with USB Output
Software
Python was my choice for the software as it was the language that allowed the most flexibility and had the most support for the hardware. The software was broken into a few part including the web server and LED controller.
Features
- Web interface to control the LEDs
- I turned the Pi into a wireless access point to which you could connect your phone. Once connected, you were forwarded to a web page that allowed you to control the LEDs. The web page was a simple Python web server that allowed you to change the text on the hat. Wifi was picked over bluetooth because it was easier to setup, more reliable, and wouldn't need a companion app. This did introduce latency due to the limted processing power of the Pi, but it was a tradeoff I was willing to make. This could be solved by using a more powerful pi or using a different language (c/c++) closer to the hardware.
- LED controller
- The LED controller was responsible for controlling the lights. When developing this, I ran into an issue with driving the LEDs. Because of hardware limitions, you couldn't update the normal Raspberry Pi GPIO pins fast enough. I ended up using the audio output pin to control them. This allowed me to drive the hardware fast enough to create animations.
- Ability to display images on the hat
- The hat supported conversion of animated GIFs to images that could be displayed on the hat. This allowed me to easily create animations in Photoshop.
- Ability to display text on the hat
- The hat supported displaying text with a number of features and styles. Example: direction, rotation speed, font, color, etc.
Progress Photos


To-do list
Just do it!
- Add a video of the hat in action